
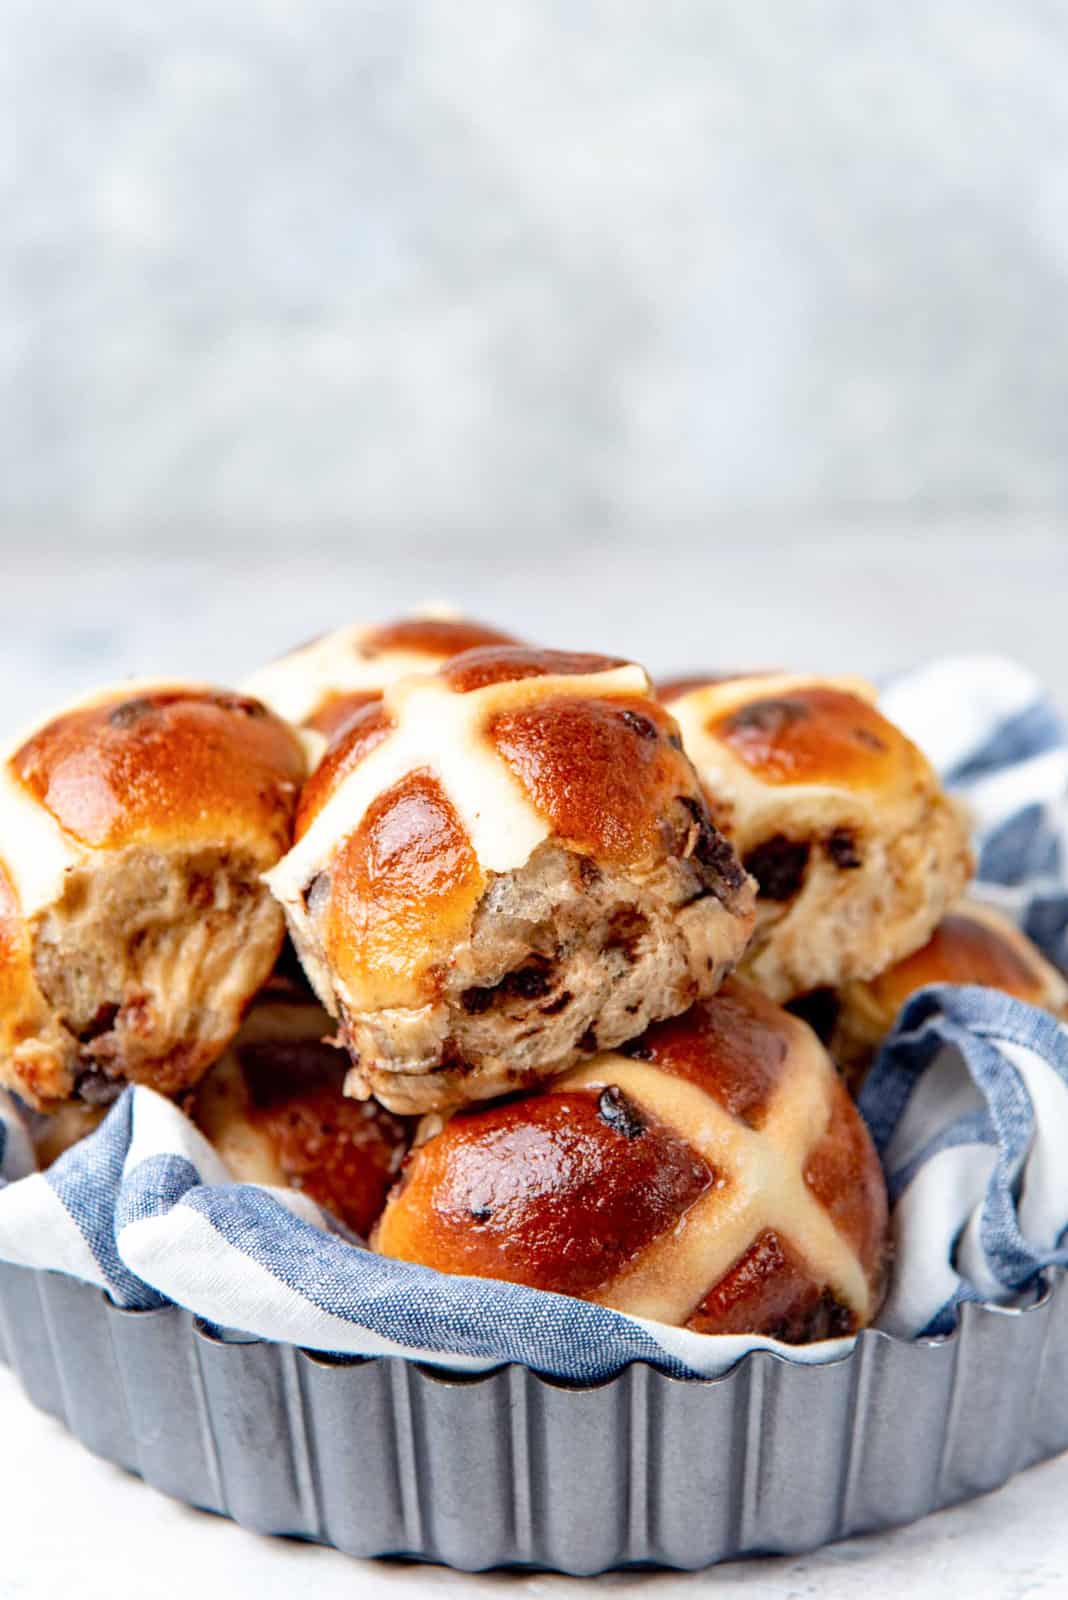
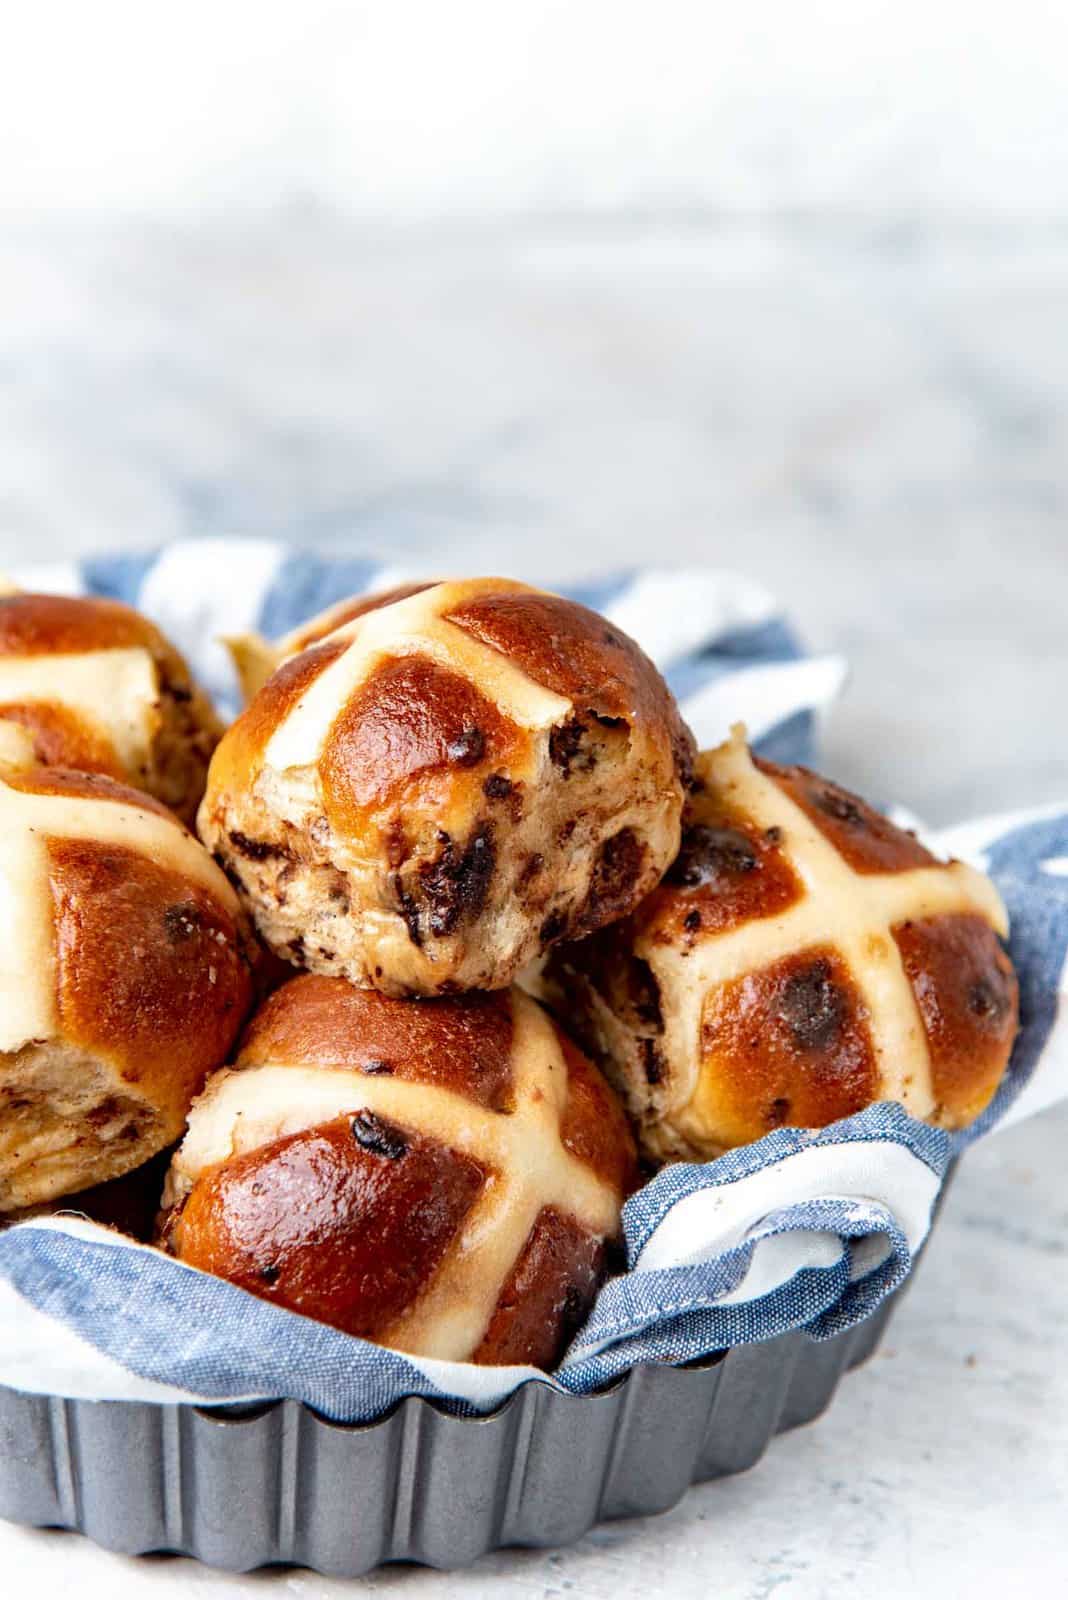
These spiced chocolate chip hot cross buns are a delicious twist on classic hot cross buns . The softest and fluffiest Easter buns, spiced with cinnamon and cardamom, and packed with semisweet chocolate!
For more delicious variations, check out these bunny buns (Easter bread rolls) , and this hot cross bun bread and butter pudding to use up stale, leftover hot cross buns.
Easter this year feels different for obvious reasons. There are a lot of things I’d love to make, but I can’t, because flour is at a premium these days.
So, I’ve had to ration my flour and use it only for necessities. These cardamom spiced chocolate chip hot cross buns are an absolute necessity. 😊
Why you’ll love these hot cross buns
- This recipe makes soft and fluffy buns using the tangzhong method (used to make fluffy Japanese milk bread ).
- Tips on how to get the right dough consistency will also ensure that the buns are soft, moist, and taste great the next day too!
- A lovely balance between the sweet buns and bittersweet chocolate.
- It has chocolate chips ! Who doesn’t love chocolate?
- I’m sharing a more foolproof, easy way to incorporate and distribute the chocolate chips , without using your stand mixer.
- Detailed information on how to make different-sized hot cross buns , so you can make medium to smaller-sized buns.
- You can even add nuts for some crunch.
- Lastly, you never have to wait for Easter to enjoy hot cross buns!
Ingredients you’ll need to make these
Dough
- AP flour
- Milk
- Active dry yeast / instant yeast
- Sugar
- Eggs (or egg substitutes)
- Butter
- Spices and vanilla
- Salt
- Chocolate
A portion of the flour and milk will be used to make the tangzhong, and the rest will be used as is, in the dough.
For the crosses
Flour paste Flour Confectioner’s sugar Water
Frosting Confectioner’s sugar Water
What is tangzhong?
Tangzhong is an east Asian technique of making a water roux, which is later added to the dough. This thick paste is usually made with water and flour, but can also be made with milk and flour (as is the case here).
You can check out my Japanese milk bread recipe and scallion and sesame milk bread to find out more about tangzhong and how to make bread loaves with it.
Can I use bread flour instead of AP flour?
Yes, you can! But I would add about 1 – 2 tbsp extra water, because bread flour absorbs more water than AP flour. The key to soft buns is the hydration level in the dough. The more protein in the flour, the amount of water needed to get the same consistency increases slightly.
This dough is a super soft and sticky dough, and adding bread flour can make it slightly drier, if you don’t adjust the hydration level.
I don’t have cardamom at home. What can I use instead?
I personally love the combination of cardamom and chocolate. But if you don’t have any cardamom at home, you can use just the cinnamon. But you can also add other spices such as,
- nutmeg (use only about 1/2 tsp)
- allspice
- cloves
- orange zest (or orange extract)
How to make chocolate chip hot cross buns
Step 1 – Make the tangzhong
To make the tangzhong you need to mix a 5 : 1 ratio of liquid and flour. I make this with milk, but you can make it with water too.
The amount in the recipe here is the smallest amount of tangzhong that can be reliably made, i.e. 1/2 cup of milk + 24 – 25 g flour (approximately 2 1/2 tbsp). So, if you want to make a half a batch of these hot cross buns, you will still have to make the full amount of tangzhong.

Whisk the flour and milk together until the mixture is smooth, in a small saucepan. Cook the mix (while whisking) until it thickens to a pudding-like consistency. Thick, but still with a little flow.
Place the tangzhong in a bowl and cover it with plastic wrap that is touching the surface (to prevent a skin from forming on top). Let it cool down to room temperature. You can keep it in the fridge or freezer to speed up the cooling process. Just remember to take it out in time so you don’t end up with frozen tangzhong.
Step 2 – Activate the yeast
Whisk a small amount of sugar with the warm milk and sprinkle in the yeast (image 1) . Then let is sit for at least 15 minutes, or until the yeast starts to show a frothy bubbly surface. This is a sign that the yeast is alive, and has been “activated”.
Active dry yeast must be activated before using, because some brands of active dry yeast also have large granules. While this step isn’t necessary for instant yeast, if my yeast is more than 1 month old, I always activate it to make sure the yeast isn’t dead.

Step 3 – Form the dough
Add the warm or room temperature tangzhong to the yeast, along with the rest of the ingredients. I like to add the wet ingredients first (image 2) , and then the dry ingredients, and add the salt last (image 3) . This is so that the salt doesn’t make direct contact with the activated yeast.
Then mix the ingredients to combine and form a sticky dough (image 4) .
Step 4 – Knead the dough
The next step is to knead the dough. It’s really important to knead the dough until enough gluten has formed in the dough. If the dough doesn’t form enough gluten, the dough will be harder to handle and the final buns won’t be soft either.
Knead the dough for about 15 – 20 minutes, or until the dough goes from being a sticky dough that looks lumpy, to a smooth and shiny dough that is still soft, but only tacky to the touch (image 5) . This does take some patience, but it’s so satisfying!
The dough will need to be kneaded on medium speed on the kitchenaid mixer to achieve the right amount of gluten. Since the dough is soft, it will knead more easily without being too much of a strain on the mixer. However, if you’re concerned, alternate the speed of the mixer between medium and low (2 minutes on medium and 1 minute on low).
If you knead only on low speed, the dough will not be able to form gluten properly. Also make sure to scrape the bowl down (sides and bottom) to ensure that the dough is kneading evenly.

Step 5 – Proof the dough
Once the dough is kneaded, shape the dough into a tight ball (image 6) and proof the dough in a warm place (image 7) . The dough should proof until it’s about 1.5 – 2 times the original size. The purpose of this proofing step is to help develop gluten further in the dough, so that the dough has more strength.
When do I add the chocolate chips?
When I first published this recipe, I preferred to add the chocolate chips after developing the gluten in the dough. The problem that I encountered with this is that the chocolate chips don’t distribute evenly or easily throughout the dough, and kneading the dough after adding the chocolate also caused extra strain on the mixer.
The more you knead, the warmer the dough becomes, and this leads to the chocolate chips melting into the dough and causing changes in the final texture.
My new technique to mix the chocolate chips is a well known technique used in bread making called “lamination”. This step occurs after the first proofing of the dough. This is MUCH EASIER than kneading the chips into the dough, and takes less time and puts less stress on the mixer (because we won’t be using the mixer for this step!).

Step 6 – Add chocolate chips (laminating the chocolate chips)
Prepare the chocolate chips by roughly chopping them up (as seen above). While this step is not essential, I’ve found that it helps to distribute the chocolate more through the dough when chopped.

Take the proofed dough and place it on a lightly floured surface (image 8) . Gently stretch out the dough to form a rough rectangle or square (image 9) . Try to prevent the dough from ripping too much, and keep the thickness fairly even.
Now, sprinkle about 2/3 of the chopped chocolate over the surface of the dough (image 10) . Then fold 1/3 of the dough over the center (image 11) , and the remaining 1/3 over the middle as well (image 12).
Sprinkle the final 1/3 of chocolate chips over the dough (image 13) , and fold or roll it up to encase the chocolate pieces (image 14) . Finally, fold the dough to form a ball (image 15) .
At this point, you have two options.
- Proceed with shaping the buns.
- Place the dough back in the bowl and leave it in the fridge to proof overnight.

Step 7 – Overnight cold proof
I love the overnight cold proof step for most of my doughs. This is because it allows me to break the work flow into two days when making my dough. Other benefits include,
- The slow fermentation also helps to develop gluten AND develop flavor in the dough.
- A chilled dough is also easier to handle! Using less flour when forming the buns will lead to softer results, since the extra flour will dry hot cross buns further.
Cover the bowl and let it proof in the fridge for at least 8 hours, or up to 12 hours.
Step 8 – Form and shape the buns
Deflate the proofed dough and weigh it first. Then divide the weight by the number of portions you need (image 16) . Then you’ll know how much each portion will need to weigh.
Just like with my traditional hot cross buns , the weight for the portions will be fairly similar.
Divide into 15 portions for medium-sized hot cross buns, or into 20 – 24 portions for smaller hot cross buns . The weight of each bun will vary depending on how you measured each ingredient. However, with this recipe the weights are roughly as follows,
- About 73 – 76 g for 15 portions,
- 45 – 50 g for 20 – 24 portions.

Shaping the buns properly is also important to ensure that they have enough structure to keep their shape as they rise / proof. Only use a light dusting of flour if needed. I like to lightly work the dough first by flattening it a little (image 17) , then folding in the edges of the dough towards the middle (image 18) until the dough portion feels tight.
Then form it into a ball by pinching it at the bottom to seal the seams (image 19) , which will create a smooth surface on top. Then I roll this dough ball on a surface with a cupped palm to shape it (image 20). Repeat with all the portions of dough (image 21) .

Step 9 – Proof the hot cross buns
Place the buns on a parchment paper-lined baking tray (image 22) . I use a half sheet baking tray, as it will be large enough to keep 15 portions or 20 – 24 portions. Place the buns about 1/2 inch apart from each other. I make 15 of these chocolate chip buns here, but you can also make up to 24 smaller ones (like I did for the classic hot cross buns).
- For 15 buns – place them in a 3 x 5 configuration
- For 20 – 24 buns – place them in a 4 x 5 configuration or 4 x 6 configuration

Cover and let the buns proof in a warm place until the buns double in size. The time will depend on the ambient temperature, but you can check if the buns are proofed properly with the finger indentation test .
Step 10 – Pipe the crosses on the buns
When the buns are almost proofed, preheat the oven to 350 F / 180 C. Also prepare the flour paste for the crosses. If you prefer to pipe frosting or pastry cream crosses after baking, then skip this step. But since I like to toast my hot cross buns, I prefer the flour paste cross, as the frosting will melt when heated.

The dough for the cross is a simple mixture of flour + powdered sugar + water. Water is added until you get the right consistency (images 23 – 24) . The dough should be runny enough to easily pipe on top, but not too runny that the crosses run off once piped. Place the flour paste in a piping bag or ziploc bag (image 25) .
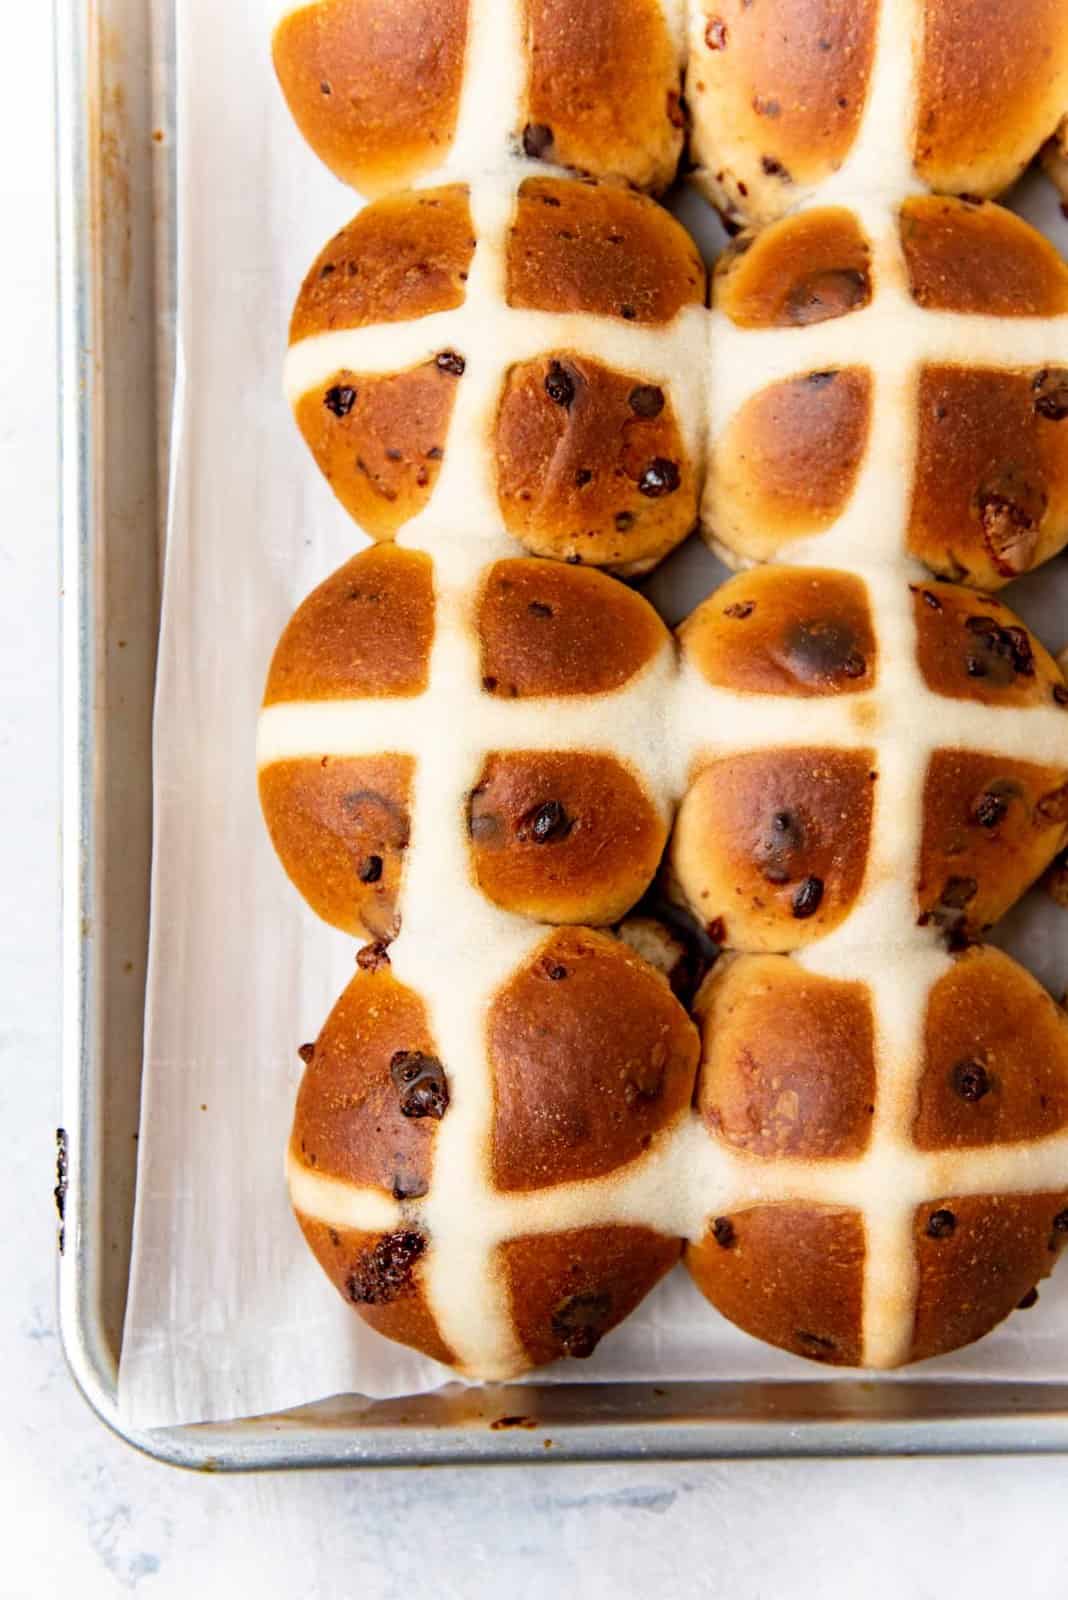
When the buns have proofed to double the size (images 26 – 27) , snip one end of the piping bag / ziploc bag, and pipe the crosses on the buns (image 28) .

Step 11 – Bake the chocolate chip buns and prepare the glaze
Bake the chocolate chip buns in the preheated oven until the buns are a golden brown color, or until the center of the breads registers between 190 – 200 F. This can take between 20 – 35 minutes, depending on the size of the buns and your oven.
While the hot cross buns are baking, prepare the glaze by heating all the ingredients together to warm it up, and keep it warm until the buns are ready. The cardamom will infuse the honey as it sits.
Step 12 – Glaze the buns
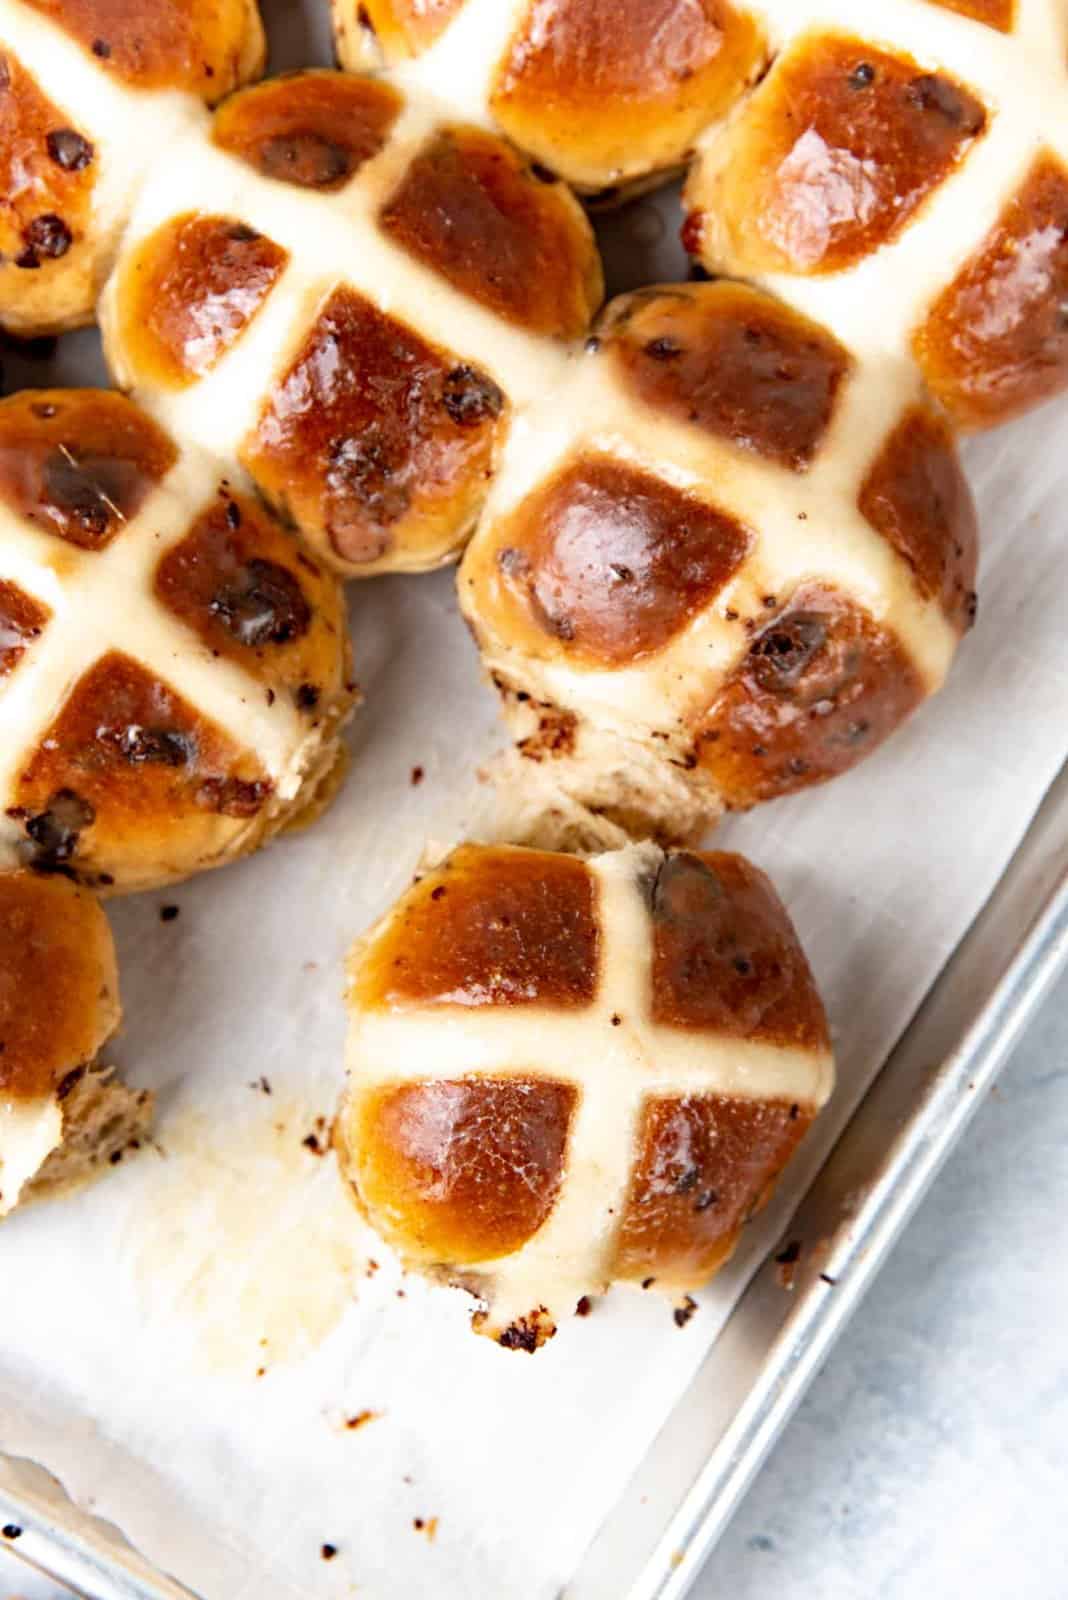
Once the chocolate chip hot cross buns are baked, remove the buns from the oven and glaze the tops with the warm honey syrup while the buns are still fairly hot (image 29) .
Let the buns cool down slightly (image 30) . If you’re choosing to pipe frosting crosses on buns, then the surface of the buns should be cool enough to prevent the frosting from melting.

Recipe tips and notes
- This dough is sticky, so it’s easier to knead with a stand mixer. You can also knead the dough in a bread machine, but will need to shape, proof, and bake separately.
- Since the dough is sticky due to the higher liquid amount, the dough will stick to the bowl as it kneads. Do NOT add extra flour to make the dough less sticky . Adding more flour will make the dough heavier and drier.
- Use a scale to weigh ingredients . Using a cup to measure the flour could work, but if the flour is measured wrong, you may accidentally add up to 25% extra flour! This will result in a dry, dense, crumbly hot cross bun.
- If you choose to knead the dough by hand, be ready for a workout. The dough is sticky, and you can’t add extra flour to prevent the stickiness. Let the dough rest for about 30 minutes to hydrate the dough and to form some gluten naturally. Afterwards, you can either slap the dough against your work surface, or perform a series of folding and coiling of the dough over a period of time to continue to build the gluten. The dough will eventually become smooth and will stick to the surface less and less.
- Be patient when kneading the dough . Developing gluten takes time, and you can’t take shortcuts.
- Use the laminating technique to add the chocolate chips to the dough! This method is so easy, and will distribute the chips evenly throughout the dough with minimal stress.
- When portioning and shaping the dough, always remember to keep the dough pieces and the formed buns under plastic wrap or tea towel to prevent them from drying out.
- Try not to use too much flour when shaping the dough . The more flour you use to keep the dough from sticking to your hands, the more flour you incorporate into the dough. This can result in tough, dense hot cross buns.
- Be patient when proofing the buns before baking . If the chocolate chip hot cross buns are underproofed, the buns will be small and dense. To get lofty, fluffy, soft buns, let them proof properly before baking.
- If you don’t want to use a sweet glaze on the buns, you can use an egg wash on the buns BEFORE baking them . This will give them a shiny gloss after they bake.
- You can also halve the recipe, but don’t halve the tangzhong recipe. Make the whole amount, but only use half of the tangzhong (about 65 – 70 g). You can divide the dough into 9 pieces and bake them in an 8 or 9 inch square pan. The bake time will be about 20 – 25 minutes.
Storage and make ahead tips
You can shape the dough ahead of time .
Once you have shaped the dough into buns, they can be placed on the baking tray and kept in the fridge overnight. Make sure the baking tray is wrapped well with plastic wrap to prevent the dough from drying out. This works best if your previous overnight proof was 12 hours or less.
The following morning, let them return to room temperature, and then let them proof until doubled in size before baking.
Storing baked chocolate chip hot cross buns
These chocolate chip hot cross buns can be baked and then stored in the fridge or freezer as well.
At room temperature – These buns can be stored in an airtight container at room temperature for 2 – 3 days only. They do get stale very quickly, so they should be warmed up in the microwave, or toasted lightly before eating.
In the fridge – Store them in an airtight container, and keep them in the fridge for up to 5 days . The buns will be cold, so they will need to be warmed slightly to room temperature or a bit warmer before eating.
In the freezer – Place the buns in a single layer on a tray and freeze. As soon as they are frozen, transfer the frozen buns into an airtight container and keep frozen for up to 1 month . Let the buns thaw out on the counter. They can also be toasted or warmed up before eating. You can also reheat them in an oven for a few minutes too (about 200° F for about 15 minutes or until warmed through).
If you do end up with stale, leftover buns, this hot cross bun bread pudding is a fantastic way to transform those leftovers into an even more cozy, rich, custardy dessert !

Serving suggestions
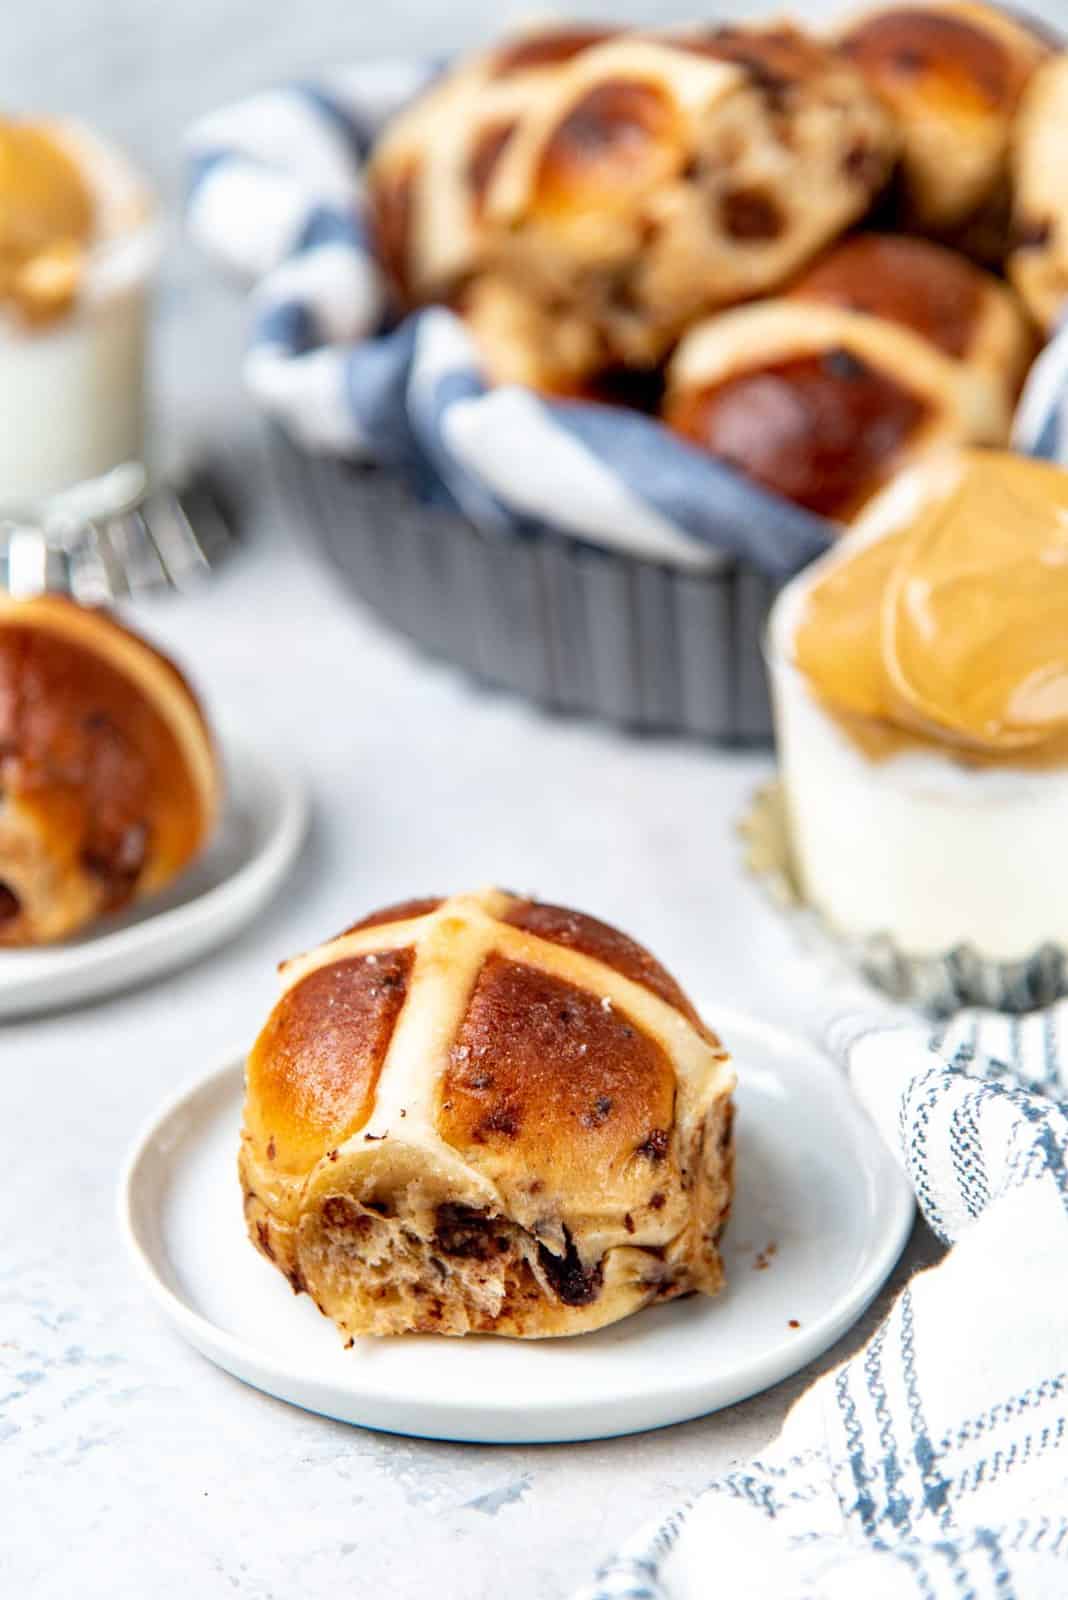
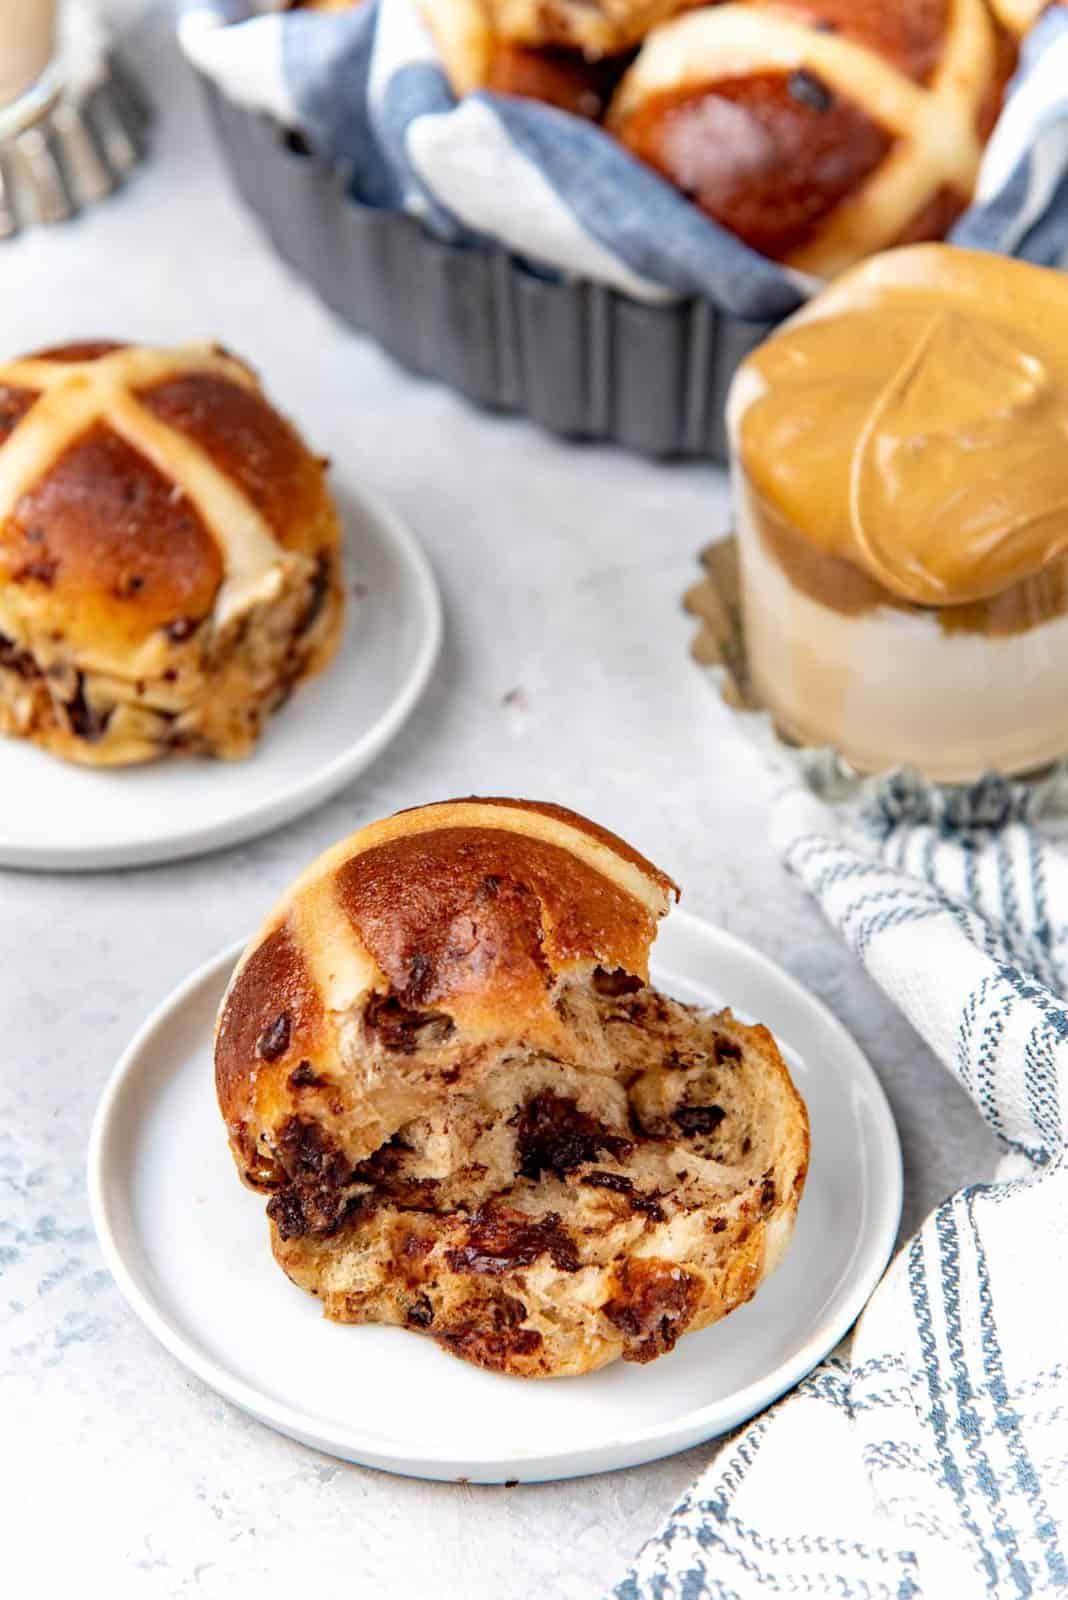
These are delicious just the way they are! The chocolate chips do harden if the buns are very cold, so they will taste better when warmed up just a little bit. Then the chocolate is just slightly melted and the dough has a lovely warmth from the spices.
These chocolate chip hot cross buns are so soft and fluffy, and I guarantee it’ll be impossible to stop at one! 🙂 A little salted butter in the middle just makes these even better!
Serve them with your favorite coffee and tea drinks , like a flavorful masala chai or a vanilla steamer (babyccino) for kids.
Can I double this recipe?
This will depend on your mixer. If you have a standard kitchenaid mixer, then your mixer may not be heavy duty enough, or have a big enough bowl to make a double batch. But if you have a heavy duty mixer with a larger bowl, then you can absolutely make a double batch.
Can I make eggless hot cross buns or vegan hot cross buns?
Yes! You can now find really great vegan chocolate chips that you can in this recipe. Substitute the milk with a plant-based milk. The butter can also be substitute with a vegan butter. For the eggs, substitute each egg with 50 – 60 mL of plant-based milk. The dough will be looser, because milk is not as viscous as eggs, but you will still have super soft results.
Why are my hot cross buns dense and heavy, and not as fluffy?
The buns can be dense for a number of different reasons. 1 – Adding too much flour or inaccurately measuring the flour. Results in a drier dough that is heavier. 2 – Underproofed buns before baking, or dead yeast that wasn’t proofing the dough. Results in a dense crumb and buns that do not rise properly during proofing and baking. 3 – Overproofed buns that expanded and collapsed during baking. Results in a dense crumb because the dough collapsed.
Why is my dough so sticky?
This dough has quite a bit of liquid in the form of milk, eggs, and butter. This will make the dough very sticky, but will also result in soft, hydrated buns. If your dough is sticky, you must keep kneading it (on medium speed), to develop the gluten well. As gluten develops, the dough will become less sticky and smoother. You just have to be a little patient!
Other recipes you may like
- Classic hot cross buns
- Easter bunny buns
- Pastel Easter cake with caramel nest
- Pastel Easter sheet cake
- Classic cinnamon rolls
- Brioche cinnamon rolls
- Easy cinnamon toast
- Easy French toast
Recipe
Spiced Chocolate Chip Hot Cross Buns
Ingredients
For the tangzhong
- 120 mL milk or water ½ cup
- 24 g flour 2 ½ tbsp
For the dough
- 120 mL warm milk ½ cup
- 7 g active dry yeast 2 ¼ tsp, 1 standard packet
- 100 g granulated white sugar ½ cup
- 56 g unsalted butter melted 4 tbsp
- 2 large eggs
- 15 mL vanilla extract 1 tbsp
- 1 tsp ground cinnamon
- 1 tsp ground cardamom
- 425 g AP flour 3 ⅓ cups, measured by spoon and level method
- 1 tsp salt
- 170 g bittersweet chocolate chips chopped, you can also use semisweet chocolate or a mixture of your favorite chocolate chips or chocolate bars
Flour paste for the cross
- 20 g confectioner’s sugar 2 tbsp
- 62 g AP flour ½ cup, measured by spoon and level method
- 45 - 75 mL water 3 - 5 tbsp
For the glaze
- 60 mL honey ¼ cup
- 3 - 4 cardamom pods
Instructions
Making tangzhong
- Whisk the 2 ½ tbsp of AP flour with the ½ cup milk (or water) until there are no lumps. 120 mL milk or water, 24 g flour
- Heat the flour-milk mix over medium heat while whisking constantly. In a few minutes, the flour-milk mix will start to thicken. Keep whisking well until you have a runny paste. Remove from the heat. The tangzhong paste is now ready. (It should weigh about 130 to 140 g - about ½ cup.)
- Place the tangzhong in a bowl and cover with plastic wrap, making sure the plastic wrap is touching the surface of the paste. Let it cool down to room temperature before using.
Activating yeast
- Place the warm milk in your mixer bowl and dissolve about ½ - 1 tbsp of sugar in it. Sprinkle the yeast over the milk and gently stir. Let the yeast activate for about 10 - 20 minutes until it looks frothy and foamy. 120 mL warm milk, 7 g active dry yeast
Flour paste for the crosses (prepare this while hot cross buns are proofing for the final time)
- Place the flour and confectioner’s sugar in a bowl and whisk together. 20 g confectioner’s sugar, 62 g AP flour
- Add water, 1 tbsp at a time, until you have a smooth paste that’s runny enough to pipe easily, but will not run off the sides of the buns either. (For me, this is about 3.5 - 4 tbsp of water). 45 - 75 mL water
- If it get’s too runny, adjust the consistency with a little extra flour.
- Place the flour paste in a small piping bag or a ziploc bag and set aside.
For the sweet glaze (make this when the hot cross buns are almost done baking)
- Place the honey, water, and cardamom in a saucepan. Heat over medium heat until the mixture comes to a simmer, while mixing. Turn off the heat and let the cardamom infuse into the glaze. 60 mL honey, 3 - 4 cardamom pods
- Keep it warm until the hot cross buns are ready.
Hot cross bun dough
- Into the mixing bowl with the activated yeast - add the sugar, eggs, melted butter, tangzhong, and vanilla. And add the flour, spices, and finally the salt, as well. 100 g granulated white sugar, 56 g unsalted butter, 2 large eggs, 15 mL vanilla extract, 1 tsp ground cinnamon, 1 tsp ground cardamom, 425 g AP flour, 1 tsp salt
- Mix all the ingredients together to form a scraggly dough.
- With the kneading hook attached to the stand mixer - knead the dough until you have a cohesive dough (about 2 - 3 minutes). Check the consistency of the dough. It should be very sticky. When kneading the dough at medium speed, the dough should still stick to the bottom, but not to the sides of the bowl.
- Knead the dough for a further 15 - 20 minutes on medium speed. You can alternate between medium speed (5 - 6) for about 2 minutes, and then low speed (2) for about 1 minute. The medium speed is necessary to develop gluten properly. Remember to scrape the sides and bottom of the bowl a few times while kneading.
- How to tell the dough is kneaded enough - The dough will change from being sticky and lumpy, to smooth, shiny, and tacky to the touch. The dough will initially be leaving behind pieces of dough on the sides of the bowl, and then the sides of the bowl will start to look clean when the dough is kneaded well. If you try to lift the dough out of the bowl with the hook, the dough should come cleanly out of the bowl. The dough will also almost pass the windowpane test at this stage.
- When the dough is smooth and shiny and well kneaded, shape it into a smooth ball and put it back in the bowl. Cover the bowl and let it proof in a warm place until it has increased 1.5 - 2 times. This can take 40 - 60 minutes, depending on the temperature.
Laminating in the chocolate chips
- While the dough is proofing, chop the chocolate chips / bar into small pieces. Set aside until needed. 170 g bittersweet chocolate chips
- Remove the proofed dough from the bowl and place it on a lightly floured work surface. Use lightly floured hands to evenly stretch out the dough. It’s OK if there is some tearing, but the dough should stretch out really well if it was properly kneaded.
- The dough should be stretched out to a rough shape of 2 x 1.5 ft, and be fairly evenly thin. It doesn’t have to be exact and the edges might be thinner than the middle.
- Sprinkle ⅔ of the chopped chocolate over the surface of the stretched dough. Then fold roughly ⅓ of the dough over the middle, and the remaining ⅓ of the dough over the center as well. See pictures in the post for reference.
- Sprinkle the remaining ⅓ chopped chocolate chips on top of the folded dough. Fold or roll up the dough to enclose the filling in the dough. Fold the dough to form a ball shape. You can use the dough right away if you like, but I prefer to let it chill overnight so that it’ll be easier to shape.
- Overnight proof - Place the chocolate chip dough ball in the mixer bowl. Cover and let the dough proof in the fridge overnight (8 - 12 hours).
Shaping the buns
- When the dough has proofed, press to deflate the dough. Weigh the dough to get the weight. You can decide if you want to make 15 medium buns, or up to 24 small buns, and divide the dough weight by the number of portions you need.
- Approximate weights. About 70 - 75 g for 15 medium buns (similar to store-bought bun size) . OR 45 - 47 g for 24 smaller buns.
- Line a half sheet baking pan with parchment paper.
- Place each dough portion on a very lightly floured surface. Flatten it slightly and fold over the edges towards the middle to form a dough that feels taut. Then pinch these edges together to seal to form a smooth ball. Flip the dough ball over so that the seam is at the bottom. Gently roll the ball of dough on your work surface (seam side down) with a cupped palm to shape the dough ball into a smooth ball. Make sure the work surface doesn’t have any flour to allow the dough to tighten into a smooth ball.
- Place each of the dough balls on the prepared baking pan in a 3 x 5 configuration, or 4 x 6 configuration. Leave about ½ inch of space between the dough buns.
- Cover the hot cross buns loosely with plastic wrap and let them proof until doubled in size before baking. On a cold day, this takes me about 90 minutes, and on a hot day, about 45 minutes.
- Finger indentation test - The way I test for proofing is by gently pressing my fingertip into a couple of the buns, about 1 cm deep. If the indentation springs back up completely, then it’s not ready. If the dough springs back about 50% of the way, and a shallow indentation remains, then they are sufficiently proofed and are ready to be baked.
Baking the hot cross buns
- While the dough is proofing, prepare the flour paste for the crosses, and preheat the oven to 350°F / 180°C.
- Snip off the tip of the piping bag (make sure the opening is smaller than the desired thickness of the lines that you want to pipe). Pipe the flour paste over the hot cross buns. First pipe along the middle of the buns in one row at the same time (all 3 rows), then pipe across all 5 rows in the other direction. See pictures in the post for reference.
- OPTIONAL - If you prefer to skip the glaze, you can glaze the tops with an egg wash instead at this point. Whisk together an egg yolk + 2 tbsp milk, and using a pastry brush, brush the tops of the buns BEFORE piping the flour paste. Then pipe the flour crosses on top.
- Place the buns in the preheated oven and bake for 25 - 30 minutes, or until the buns are a golden brown color, and the internal temperature registers at 190 - 200°F. If needed, rotate the tray once, half way through baking.
- While baking, prepare the glaze, and keep it warm.
- As soon as the buns are done baking, remove the baking tray from the oven, and brush the warm glaze over the buns. Let them cool down slightly.
- Carefully transfer the buns onto a wire rack and let them cool down further.
- These are best eaten warm or lightly toasted with a little butter.
Notes
Storage instructions
Egg wash recipe
Vegan options
- Use almond milk instead of regular milk.
- Instead of 2 eggs, add 1/4 cup apple puree and another extra 3 tbsp almond milk.
- Use vegan butter in place of regular butter.
- Use dairy free / vegan chocolate chips.
- Instead of honey, use corn syrup or maple syrup.
Nutrition
Recipe from The Flavor Bender by Dini Kodippili
Spiced Chocolate Chip Hot Cross Buns https://www.theflavorbender.com/spiced-chocolate-chip-hot-cross-buns/
